I love a new Block of the Month program, fondly referred to, by many quilters, as a BOM. I love them so much I usually have more than one going at the same time.
They are a great way to tackle a large or intimidating project, especially if you are a little more disciplined than I am. I nearly always end up with a catch-up month (or 2) where I have to get more than one month's worth of the project done because I've fallen behind.
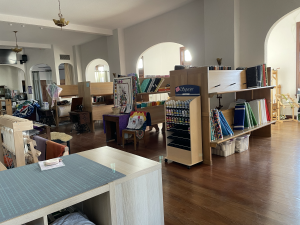
At Red Dragon Quilts we have a couple of BOMs for the coming year (these are all available now, start anytime - your program on your schedule.) I'm going to post my version on my blog starting January 2025, for those who might want to follow along. If you want to join me on any of these programs check on our website for details.
This post is about something else that I like to do with my BOMs. One of the challenges of BOMs is keeping track of those blocks for a whole program. Some people like satchels. Satchels come in a variety of sizes and will fit most blocks. Some quilts have larger blocks that will not fit without being folded. I prefer to keep my blocks flat. I don't like when they have creases or wrinkles and if the first block is 16x16 you aren't likely to find a satchel of the proper size. In our old home I had a large flannel covered wall for a design wall and I would pin larger blocks there. 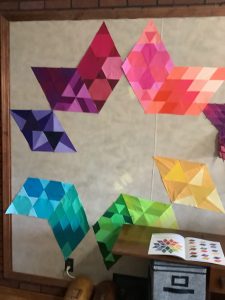 Things did get a little crowded sometimes but I found it very motivating and inspiring. The real problem there was that I often ran out of room, or needed the design wall for laying out a finished project. This brings me to my favorite way to store BOM blocks - a BOM book. You aren't going to find one of those in your local shop. They are easy and quick to make but best of all - reusable!
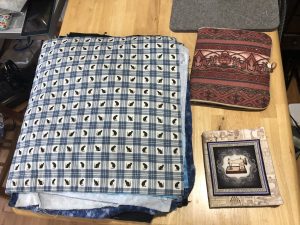
In the above picture you will see three of my BOM books. The large blue one holds the background blocks for appliqué quilts I am working on. I will cut out all of my background blocks from my fabric and place them in my book along with all the fabrics I am using for the appliqué pieces. The appliqué blocks I am currently working on are stored in a different type of block keeper. But that's a topic for another post.
The middle size one was made for my Mrs. Miller's Apprentice quilt. I put a button/loop closure on it which I NEVER actually use. You can see the tiny binding on the edge of this one.
The small book is where I have been placing the 4 inch blocks for my Dear Jane quilt.
My BOM books are mostly made from stash. (I've been quilting and sewing for a bit and my stash might be reaching critical mass.) Even when I have to buy material for a BOM book it is not a costly project. Even for the biggest book I have made I only needed 1 yard of cover fabric and 3 yards of flannel. This all came from stash.
Want to make your own? Here is my method (it's not really a pattern):
The first step is to determine how big to make your book. This first step requires knowing how big your blocks will be. This information is often available from the shop where you sign up for the BOM program or if you are just wanting to store quilt blocks for any quilt, should be stated in the pattern.
You will want your book to be at least 1 inch larger on all sides.
 For example - if your blocks will be 16" you want your book pages to be 18". I like to use cotton flannel for my pages.
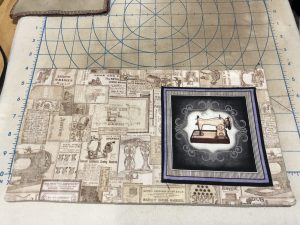
You will want a cover for your book. I like to make the cover a little 'fancy'. I use quilting, fancy fabric and/or printed designs. You will also need an inner cover and, if you plan to quilt your cover you will need binding.
Your cover should be 1" larger on all sides than your pages. If your pages are 18" you will want the cover to be 19". I like to cut my covers and pages as one piece - booklet style: for our 16" block example: 19" by 38" (19 by 19x2) for the cover, 18" by 36" (18 by 18x2) for the pages.
Once you know how big you want your book to be you have to do a little math to determine how much fabric you need. I usually make my books with 24 pages, but you can use 12 and place your blocks on the front and back of the page. I like to put the block on the front of the page and extra fabric or left over pieces on the back. This is especially useful if you need to save fabric from this current or prior month for some future month's blocks.
I have also made BOMs that required you to make more than one block per month. You'll need to decide how you want to store those as well. I still (usually) put the whole month on one page. But this is your book and you get to decide what you like best.
To determine how much fabric you will need for a basic book for this example using 16" blocks. These measurements include 1/4" seam allowance:
-
-
- 2 pieces: 19" x 38" for the cover (1 outer and 1 inner) don't have to be the same fabric
- 3 (12 pages) or 6 (24 pages) pieces: 18" x 36" cotton flannel for the pages (each piece will make 4 pages (front and back) - so if you want more pages add the appropriate number of pieces)
- 1 piece: 19" x 38" fusible interfacing or batting for the cover
- Binding if necessary - quilter's choice for width and long enough to go around the cover of your book
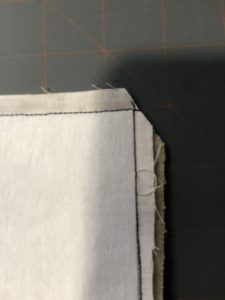
Once you have your fabric, and cut the number of pages you want we can start assembly. I use a 1/4 seam for all steps. If you want to use a larger seam allowance make sure you adjust the measurements for your pieces.
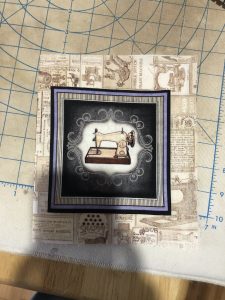
In this case my printed panel piece was sewn on to my cover. First apply fusible interfacing to your outer cover. Press the edges down a quarter inch on the decorative panel, place the panel, centered on the right half of your outer cover and top stitched the panel on to the outer cover of the book.
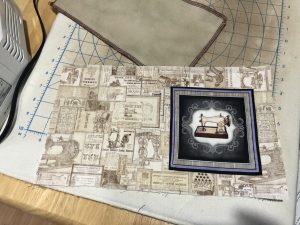
Layer your inner cover and outer cover, right sides together and sew around, leaving an unstitched space for turning. I find that a three inch space is more than sufficient. Two inches is tricky for me, especially when I use a heavy interface. I usually leave this space on the top or bottom long side center of my piece (where the spine of your book will be). But not always. As you can see from the picture I left this opening on the left side short edge.
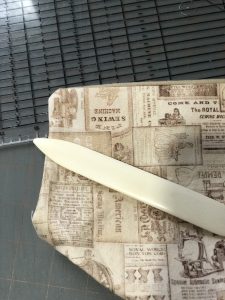
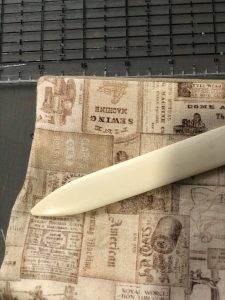
Clip the corners and turn the right sides out.
I always need to use a tool to get my corners.
Press your opening with seam allowance inside and top stitch around the entire cover. This will close your opening and give a nice edge to your cover.
If you have chosen to make a quilted cover you will make your 'sandwich': Outer cover, batting, inner cover. Quilt as desired and apply binding to encase your edges.
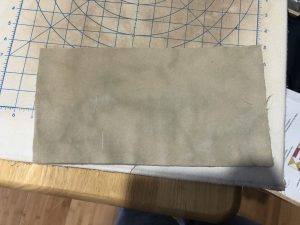
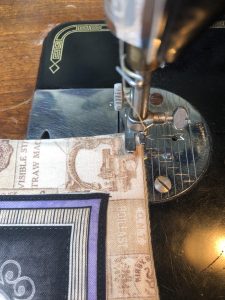
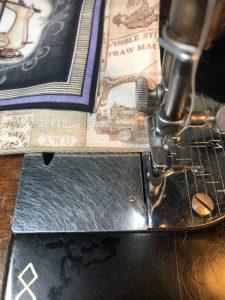
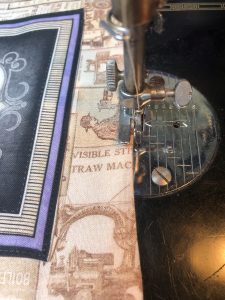
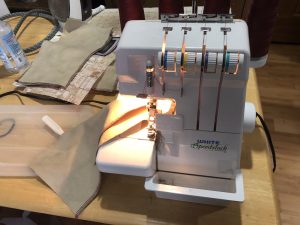
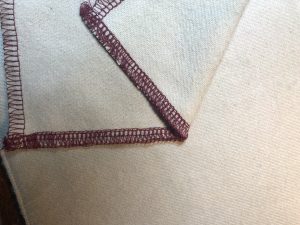
Once your cover is complete set it aside and work on your pages. Your pages can be hemmed, left raw, or edged with a serger or zigzag on your domestic machine. I like to serge my edges.
Once your pages are edged you will sew them into your cover.
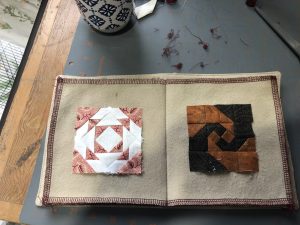
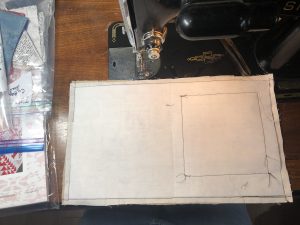
Place your cover outer side down. Center your pages on the cover and using a ruler and marking tool (I use a pen) draw a line down the center of your pages where the book will fold. If you look carefully on the bottom of the next picture you can see that I marked the cover separately and used that help line up my pages.
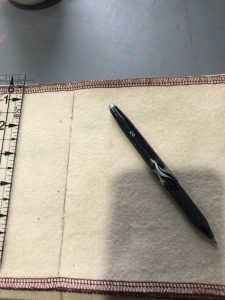
Pin the pages into place and sew a seam along the line. I will back stitch on both ends of this line of sewing AND sew the line at least twice.
Et Voilà - your BOM book is complete.
Other optional features: you can add a button and loop closure to close your book. You can add ties to tie your book closed. I have done both to great effect but as I seldom actually use the closure I don't generally add those anymore.
The flannel will hold your blocks in place if you only place one block per page. If you stack more than one block you will want to pin the block to the page so they don't fall out. I always pin my blocks because I live in fear of losing them.
If you live in a humid environment you might want to consider using brass pins to avoid rust spots forming where the pins are. I haven't ever found this to be an issue, but it's something to consider.
Let me know if you have questions, if this is confusing or needs clarification. I'm happy to help and, since this is the first of these I've ever done, I'd really like your help to make it better and, if I make more, I'd like to know how to make them 'right' the first time.
I'd love to know if you found this useful and if you use this to make a book for storing your quilt blocks send me pictures.
This post includes "affiliated" links to items in my quilt store: Red Dragon Quilts.
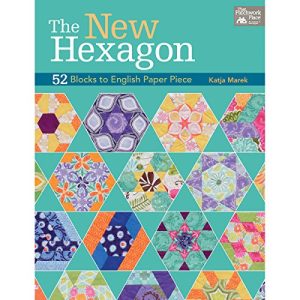
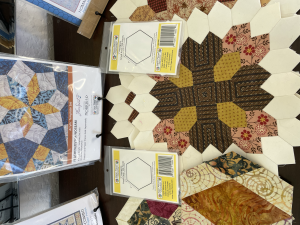 I love Katja Marek's designs. Her New Hexagon and New Hexagon 2 books are among my favorite books. Her Quilt Alongs (QALs) fill many of my BOM books. She offered QALs for free on her shop site, but you did need the patterns or books to follow along. She has since retired, I hope she is enjoying it and I also hope that she will keep designing . My Homage to Grandmother's Flower Garden is nearly complete.
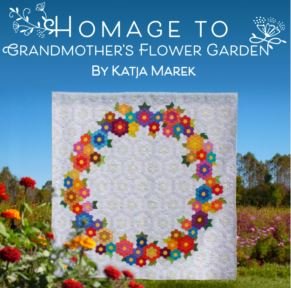 Opening the store distracted me from it, but I have pulled it back out and made a great deal of progress this month. This pattern is available from many quilt shops, including ours.
Paper Pieces has the QAL programs that Katja put together for free, but you do need the pattern or books to use the programs.
Back to my Big Project for 2025.
Along with her books she also published a perpetual calendar which has graced by desk every year since I bought it.
Opening the store distracted me from it, but I have pulled it back out and made a great deal of progress this month. This pattern is available from many quilt shops, including ours.
Paper Pieces has the QAL programs that Katja put together for free, but you do need the pattern or books to use the programs.
Back to my Big Project for 2025.
Along with her books she also published a perpetual calendar which has graced by desk every year since I bought it.
 While I am going to attempt to make all the blocks from this book, I'm not crazy enough to think I could actually focus on one project long enough to make all those blocks, one a day, for a year. I know me better than that.
Instead I'm going to try to make all the blocks from her first book. There are only 52 blocks. I should be able to do that - right?
While I am going to attempt to make all the blocks from this book, I'm not crazy enough to think I could actually focus on one project long enough to make all those blocks, one a day, for a year. I know me better than that.
Instead I'm going to try to make all the blocks from her first book. There are only 52 blocks. I should be able to do that - right?
 Best of all Paper Pieces has a set of all the pieces in miniature so the blocks are all done in 1" finished instead the regular size. Smaller seams should make this faster - right?
I have no idea when I purchased the pack of paper pieces for this project. I found them a few weeks ago while sorting through my scraps for some fabric to make a Mini Maker Station.
The Mini Maker Station pattern is free and well written. I highly recommend it if you are looking for a way to keep track of all your bits and tools while sitting and stitching.
She also has tutorials if you want or need some guidance. If you think you might like to make one of these but can't find the magnets and metal pieces let me know. I acquired more of them than I can use myself and I'm happy to help you out. The kits aren't offered for sale in our shop, but you can contact me through the customer service email for our online shop.
The pattern designer has offered them in her Etsy shop, but none have been available for quite some time. When I decided I wanted to make a few more of the Mini Makers (they make great gifts for your sewing family and friends) I sourced the magnets and the metal pieces, but I couldn't buy just the few I needed.
If you are interested in following along with my Big Project making tiny blocks check back next week for Block 1.
Best of all Paper Pieces has a set of all the pieces in miniature so the blocks are all done in 1" finished instead the regular size. Smaller seams should make this faster - right?
I have no idea when I purchased the pack of paper pieces for this project. I found them a few weeks ago while sorting through my scraps for some fabric to make a Mini Maker Station.
The Mini Maker Station pattern is free and well written. I highly recommend it if you are looking for a way to keep track of all your bits and tools while sitting and stitching.
She also has tutorials if you want or need some guidance. If you think you might like to make one of these but can't find the magnets and metal pieces let me know. I acquired more of them than I can use myself and I'm happy to help you out. The kits aren't offered for sale in our shop, but you can contact me through the customer service email for our online shop.
The pattern designer has offered them in her Etsy shop, but none have been available for quite some time. When I decided I wanted to make a few more of the Mini Makers (they make great gifts for your sewing family and friends) I sourced the magnets and the metal pieces, but I couldn't buy just the few I needed.
If you are interested in following along with my Big Project making tiny blocks check back next week for Block 1.
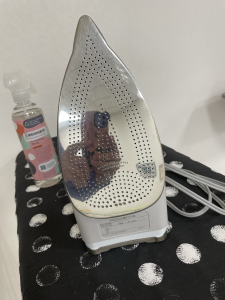
 What is on the iron? It looks like it might be the print from a shopping bag. Whatever it is I don't want it melted onto the quilt block I'm making or anything else I'm pressing.
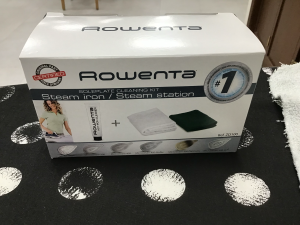
Luckily there is a really easy solution to this problem, that doesn't require the purchase of a new iron. Which is important if you, like me, have a high end iron (the Rowenta steam station is my go to). But even if you have a $20 iron (is that even a thing anymore?!) you don't want to waste your money replacing it if you don't have to.
What is on the iron? It looks like it might be the print from a shopping bag. Whatever it is I don't want it melted onto the quilt block I'm making or anything else I'm pressing.
Luckily there is a really easy solution to this problem, that doesn't require the purchase of a new iron. Which is important if you, like me, have a high end iron (the Rowenta steam station is my go to). But even if you have a $20 iron (is that even a thing anymore?!) you don't want to waste your money replacing it if you don't have to.
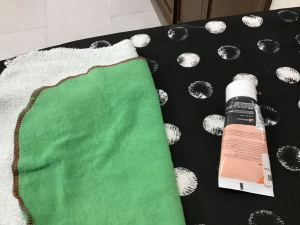
 After all the mess is removed you iron over the flannel to remove any remaining cleaner and you are ready to press your fabric.

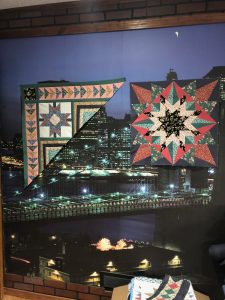
 The room has some interesting decor. Faux brick and a lovely mural of NYC. (These are blocks from the Tara BOM my mother and I have been doing).
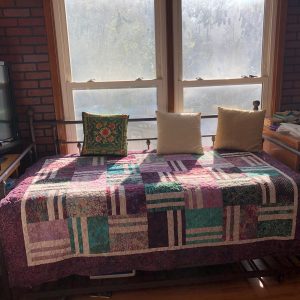
 I've left the brick and the mural wall will become a great design wall. I just need to get some flannel (I think) to put up. There is a great window, lots of natural light. It faces west, though, so the sewing table can't be in the window, I'd be blinded half the day. It is a nice place for the daybed though. I need some more pillows and it will double as a nice couch for sitting and doing handwork.
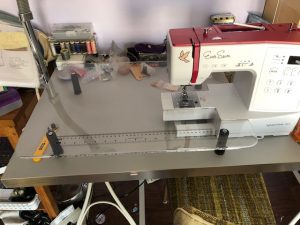
 Today is the first day since we moved all the stuff that I could actually able to use the longarm. I was going to use it Sunday, but the stitch regulator wasn't working properly. I was terrified that it had gotten damaged in the move (we hired movers, because it is so heavy I didn't think we could manage it ourselves). The service line isn't open on the weekend so we just closed the door and ignored it until this morning (much harder than it sounds). Prior to calling immediately when they opened I pulled up the manual, unplugged EVERYTHING (it's the most common first step on all the FAQs) and plugged everything back in following the diagrams. VOILA - works perfectly. Thank goodness.
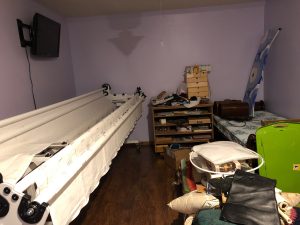 Here is a picture of the frame in place. The clutter and the cabinet have been moved out. The daybed stayed. Mother says she will sleep there when she comes to visit.
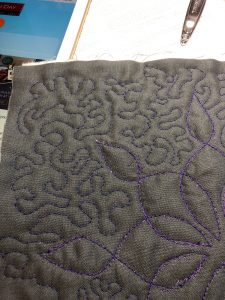
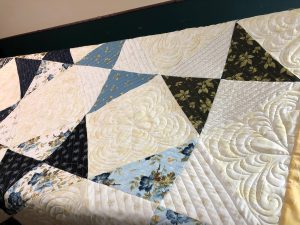
I finished up a nice charity quilt and put another on the frame. This was all done free hand and I'm pleased with how it came out. I really love edge to edge/all over quilting designs both doing them and the way they look.
≈
Here is a picture of the frame in place. The clutter and the cabinet have been moved out. The daybed stayed. Mother says she will sleep there when she comes to visit.
I finished up a nice charity quilt and put another on the frame. This was all done free hand and I'm pleased with how it came out. I really love edge to edge/all over quilting designs both doing them and the way they look.
≈ 
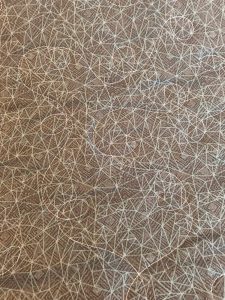 The color on the second photo is not 'true'. The backing is a great green. I'm still working on getting pictures to turn out well. Any tips? I'd love to have them.
A second is on the frame but I'm still deciding on the quilting design, and whether I'll use white thread or a lovely blue thread.
It's been a good July. I'm looking forward to more quilts (several arrived in the mail this week - look for pictures coming soon) and cooler weather.
The color on the second photo is not 'true'. The backing is a great green. I'm still working on getting pictures to turn out well. Any tips? I'd love to have them.
A second is on the frame but I'm still deciding on the quilting design, and whether I'll use white thread or a lovely blue thread.
It's been a good July. I'm looking forward to more quilts (several arrived in the mail this week - look for pictures coming soon) and cooler weather.
 There are lots of options for participating in a
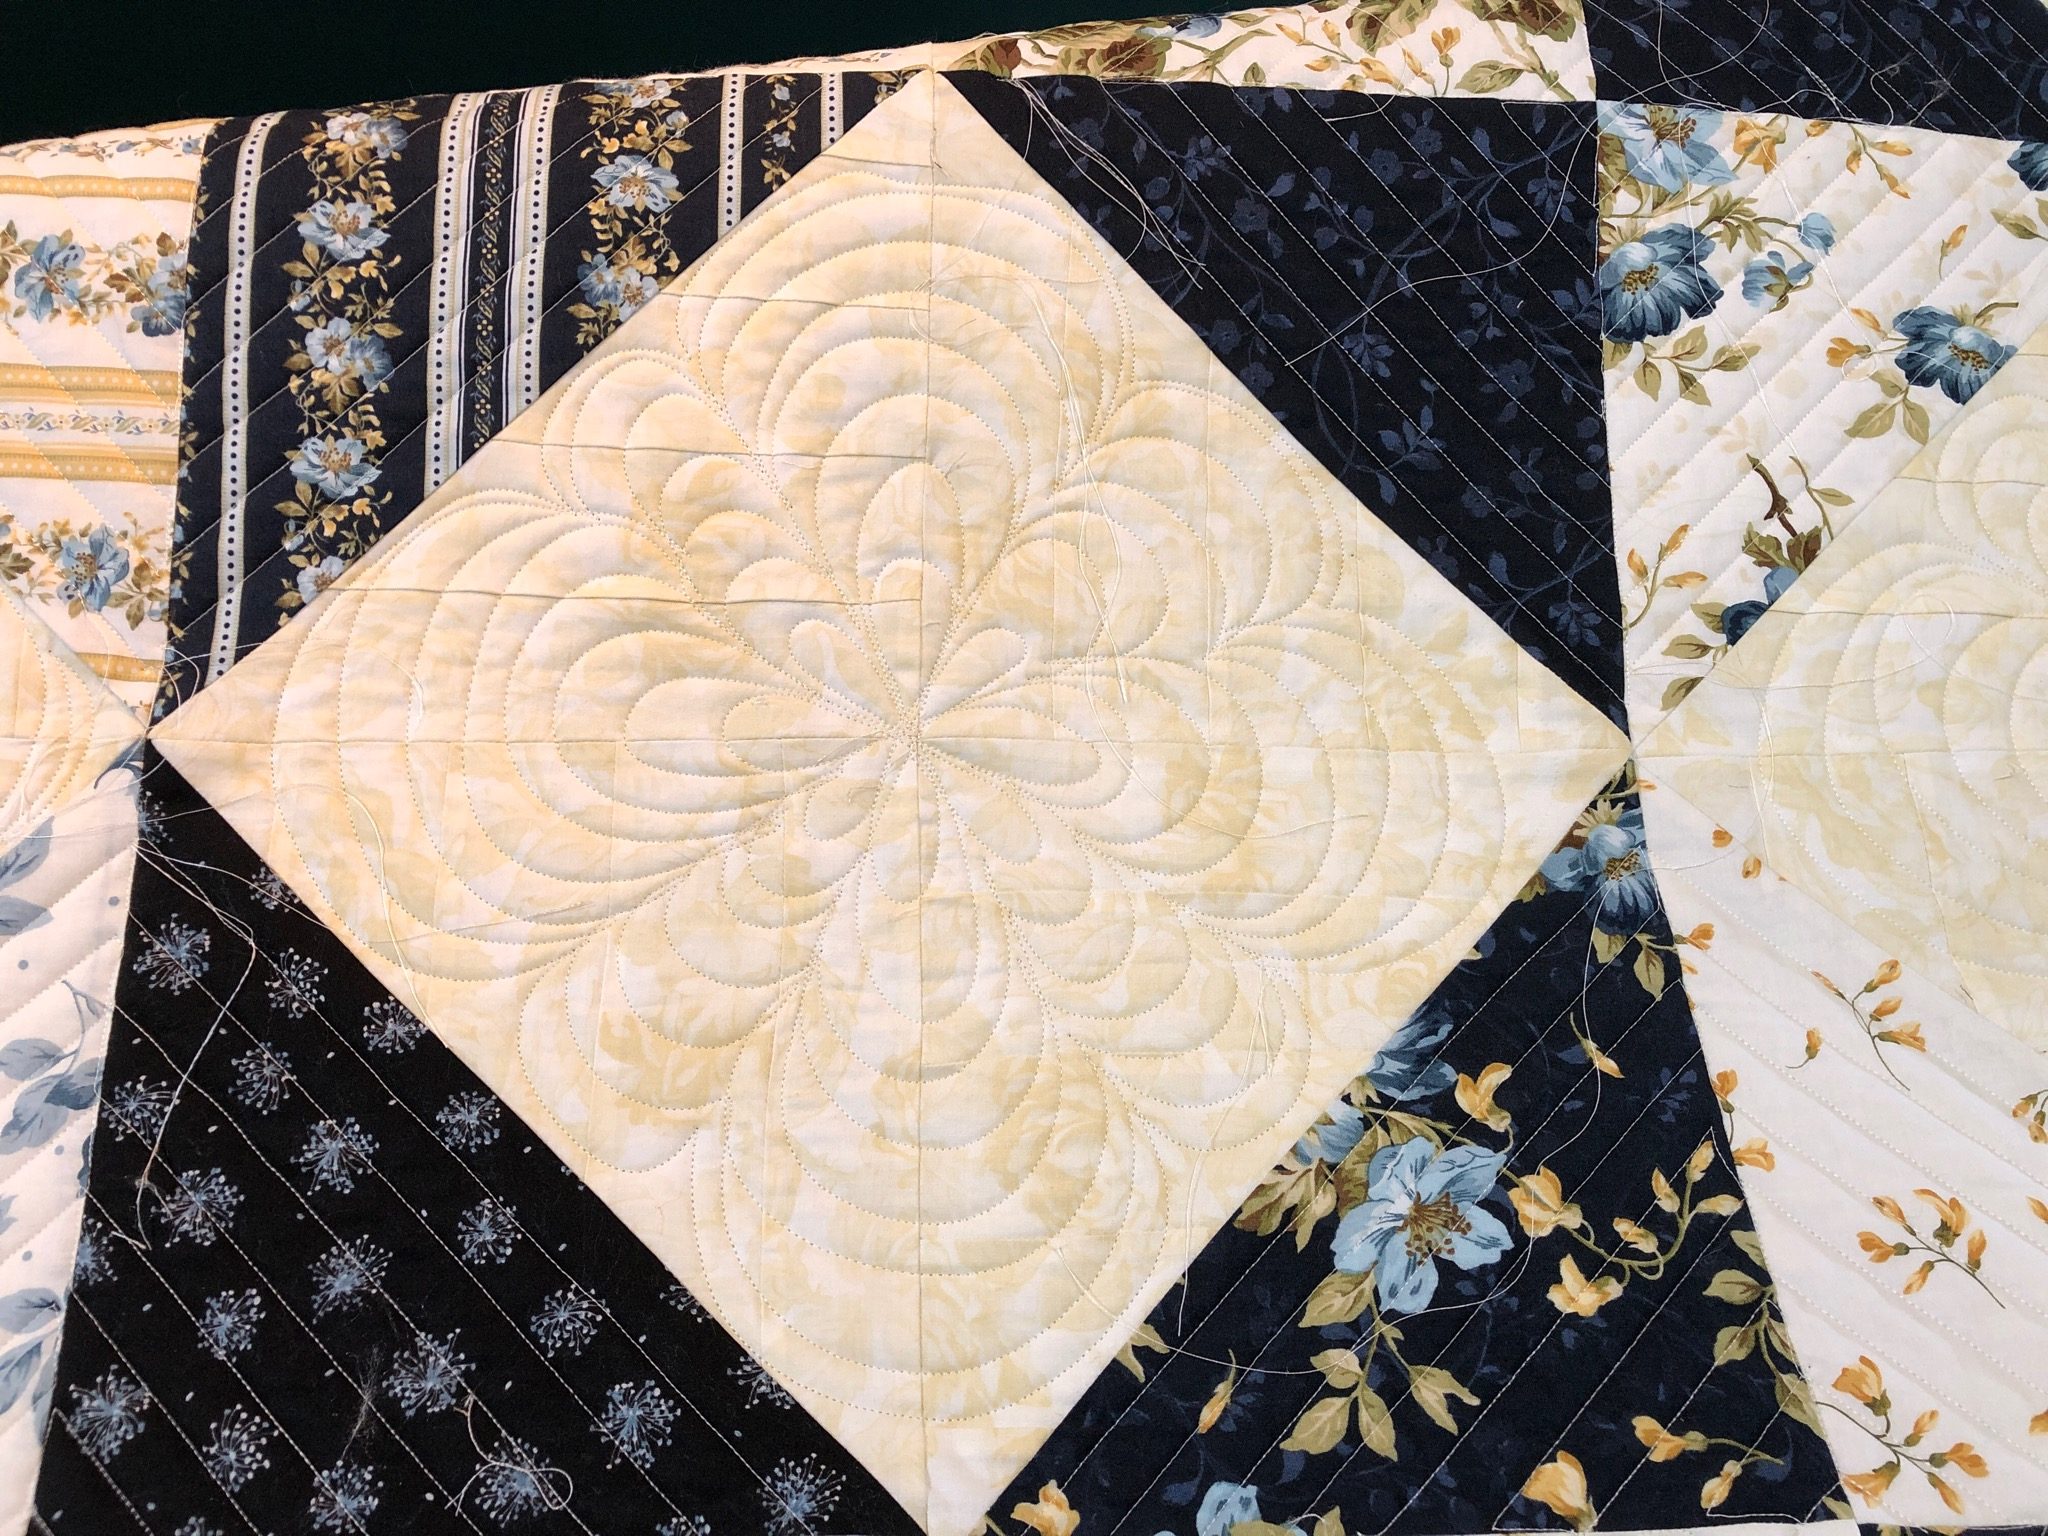


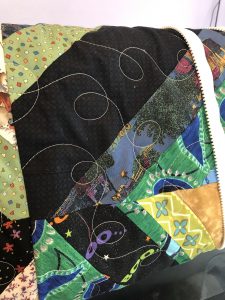
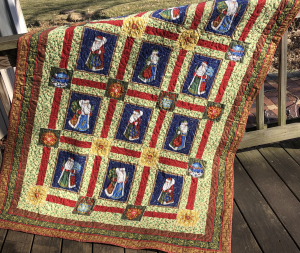 The Santa quilt was done using a holly themed pantograph.
 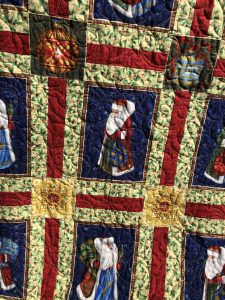 I hope this close-up helps see the quilting a little better. The quilting is done using Glide thread in gold. It has a lovely sheen. Many of the fabrics also have shiny gold designs on them so the quilting blends nicely.
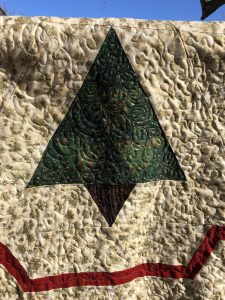
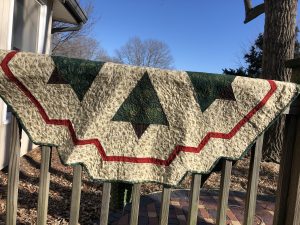 I also finished this lovely tree skirt. It was all done using free motion quilting.
I even changed the thread colors: the background is done in cream, there is a line of gold on the red trim, the trees are done in green and the tree trunks in black. It was very time consuming but I am so pleased with the results.
I also finished this lovely tree skirt. It was all done using free motion quilting.
I even changed the thread colors: the background is done in cream, there is a line of gold on the red trim, the trees are done in green and the tree trunks in black. It was very time consuming but I am so pleased with the results.
 Both of these were finished just in time - hours before Rob's annual Kris Kinder party. I have been working on a free-motion whole cloth quilt - nothing to hide mistakes in the quilting except more quilting and LOTS of space to fill with interesting designs. So far all I have to show for my efforts is a tangle of thread I've pulled out. I've also ordered a couple pieces I need in order to work with rulers. It's a good thing my mother and I have a collection of tops finished and waiting for quilting.